
Guide to Build the Perfect Snowman

More stories from Chloe Harbaugh
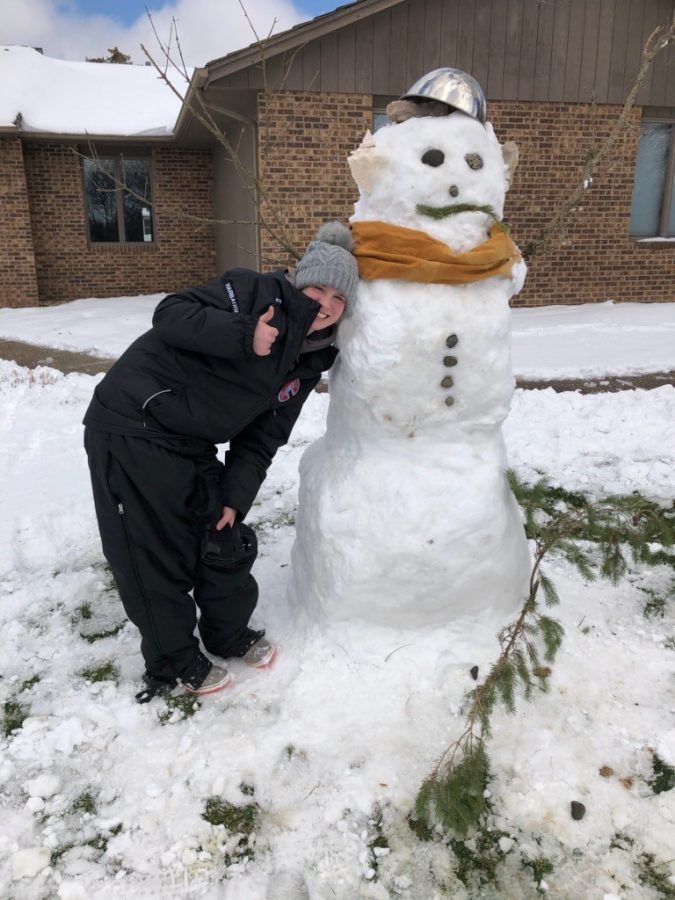
LHS Junior Chloe Harbaugh and her snowman named Garrold the General.
As always, the weather in South Dakota has a mind of its own. For some reason, it likes to snow in April. To make the best of the weather, I decided to make a snowman. Here are my steps to making a perfect snowman.
Step 1: Snow is key. Find a place with a plentiful amount of snow. If you don’t have any snow, feel free to come to South Dakota where there is plenty.
Step 2: Grab a handful of snow and shape it into a ball. Roll the ball along the ground and let the ball grow in size. This will be the bottom ball, the largest of them all. You can make it as big or small as you want.
Step 3: Make another snowball. This one will be smaller than the first. After you are done rolling the ball, place it on top of the first snowball you made.
Step 4: Make the last snowball. This one will be the smallest of the three. This will be the head and will be placed on top of the two snowballs that are already stacked together.
Step 5: When all three snowballs are in place, pack some snow in between them to help them stick; you don’t want your snowman to fall over.
Step 6: Give your snowman a face by using rocks for the eyes, nose and buttons; pine needles for its mouth and big rocks or seashells of its ears.
Step 7: Give your snowman some arms. You can use sticks or twigs you find around your yard. Just stick them in the sides of the snowman where you think the arms should go.
Step 8: Add some personality to the snowman. Add a scarf around its neck, a hat on its head and any extra accessories that will make your snowman stand out.
Step 8: Give your snowman a name. My personal favorite: Garrold the General.
Chloe Harbaugh is a junior and second-year staff writer. Aside from writing for the Statesman, Harbaugh runs track for LHS, plays hockey for the Sioux...